
Hello guys, I’m back with DHT11 with Arduino article in the Arduino Series. In today’s article, we’ll be discussing how to connect HDT11 sensor with Arduino and read data from it. DHT11 is among one of the easy sensor a beginner should start with, also it can be used with any development board. DHT11 sensor is not only temperature sensor, but it is combined humidity and temperature sensor. There is another improved version of DHT11 namely DHT22, it also works in the same way as that of DHT11. In today’s article, I’ll be demonstrating how to connect this sensor with any Arduino board and print its value on a serial monitor. If you haven’t read about Arduino or DHT11 sensor, then make sure to have a look at them. With this, let’s start our today’s session.
Arduino & DHT11 in Brief
DHT11
DHT 11 sensor is one of the most important basic sensor you should lay your hands on. It comes in small package that can easily be placed at any place. The one I’m using is the DHT11, but you can also use DHT22 as both of them are similar and work in the same way. Moreover, this sensor comes with single pin data communication protocol, which makes it more compatible with microcontrollers like ATTINY45. However, the package in which it comes is an enclosure with blue package. But I have done a teardown and mention it in the article of the DHT11 Sensor. Although this sensor seems very good, but it sure has some limitations. Precisely, you can only measure a temperature range of 0 °C to 50 °C with a ± 2.0 °C accuracy. Similarly, in means of Humidity measurement 20% to 80% with a 5% accuracy.
The inside of that enclose is pretty simple and can be replaced/ repaired easily. However, for humidity component it is not easy as the component is not easy to be found in nearby market. As for the temperature component, it consists of a NTC, which can be replaced easily if damaged. In addition to this, it has a 1 Hz of output rate, it means it can output its data in combined form in every second. Because of this, it is advised to add some delay in your code in order to get values instead of errors. Lastly, some sensor comes with 4 pins, other than the one I have, in those make sure t use the correct pin as the NC pin might be mistakenly taken as signal pin.
Arduino UNO
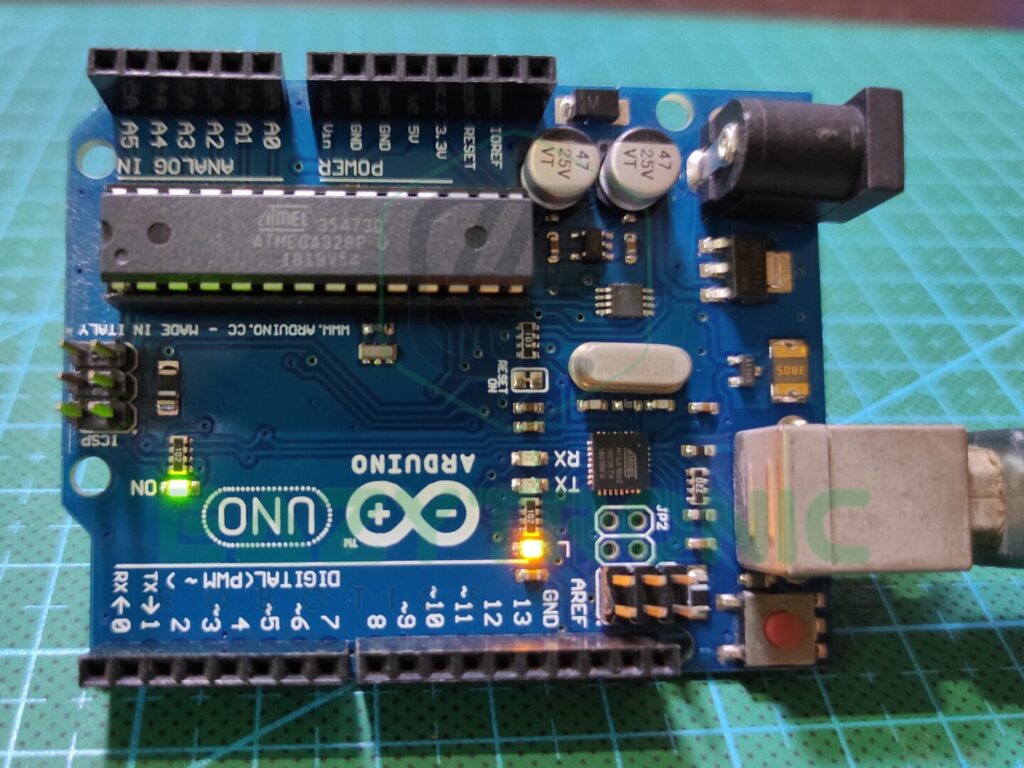
Arduino UNO is one of the most famous and common microcontroller most of you start with. This is not only because it’s cheap, abut also because it is the easiest version of Arduino board you can start with. Moreover, it is the only version of Arduino Board whose main IC can be replaced without much effort. Unlike Arduino Mega, Nano, Pro mini, micro, this board can easily be repaired if some damage happens due to main IC. Arduino UNO is built around ATMEGA328PU IC, which comes in a DIP-28 package. In addition to this it is the same IC found in some SMD version of Arduino UNO but in different package as some of you might have. ATMEGA328PU is an AVR based 8bit CMOS microcontroller that runs on the operating frequency of 16MHz.
It comes with 23 Programmable I/O pins that cover almost all types of communication that a microcontroller must have. There are 13 Digital pins that include 6 PWM pins and 2 of them can operate at high frequency of about 980Hz. It also has 6 Analog pins with a 10-bit resolution. IF we talk about its SRAM, it has 2 KB of SRAM and 32 KB of programmable flash memory. It also includes EEPROM memory of 1 KB, that makes it great for every small project you want to try. IT can be used to connect SPI, I2C devices along with the Serial communication. However, it is used by the programmer to upload code. Additionally, it can deliver both 5V and 3.3V power supply to all type of sensor via dedicated LDOs.
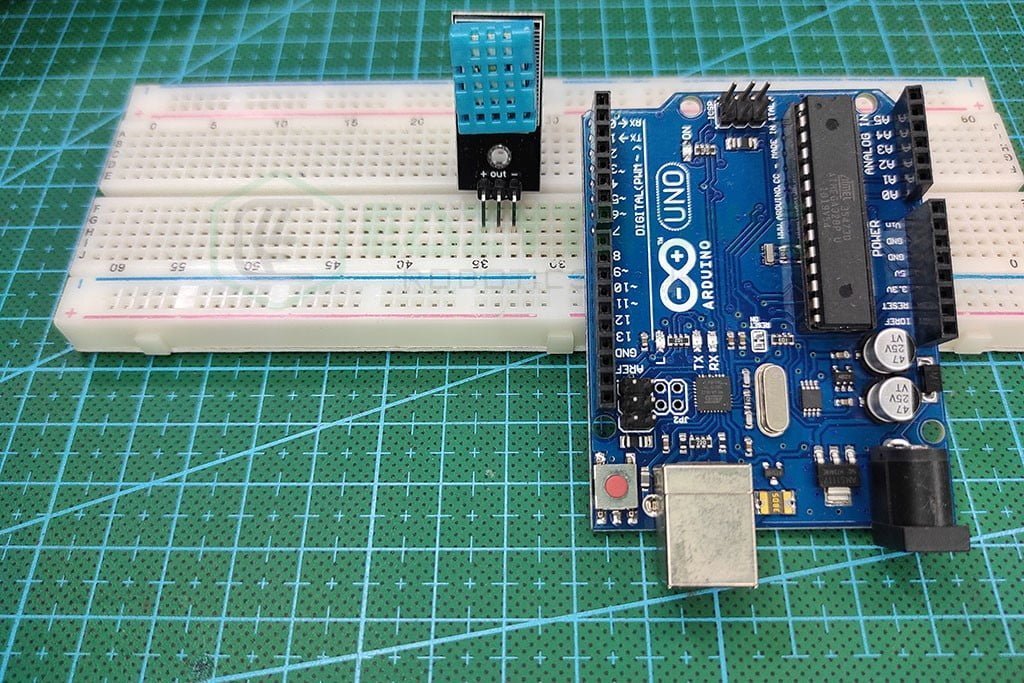
Material Required
The material used in this demonstration of dht11 with arduino are very easily available in the local and online market. However, the model I’m using could be different from the one you have. That doesn’t matter much unless you are sure the sensor is working.
- Arduino UNO
- DHT11 Sensor
- Breadboard
- Jumper Wires
- Things for testing temperature and humidity
Fritzing schematic
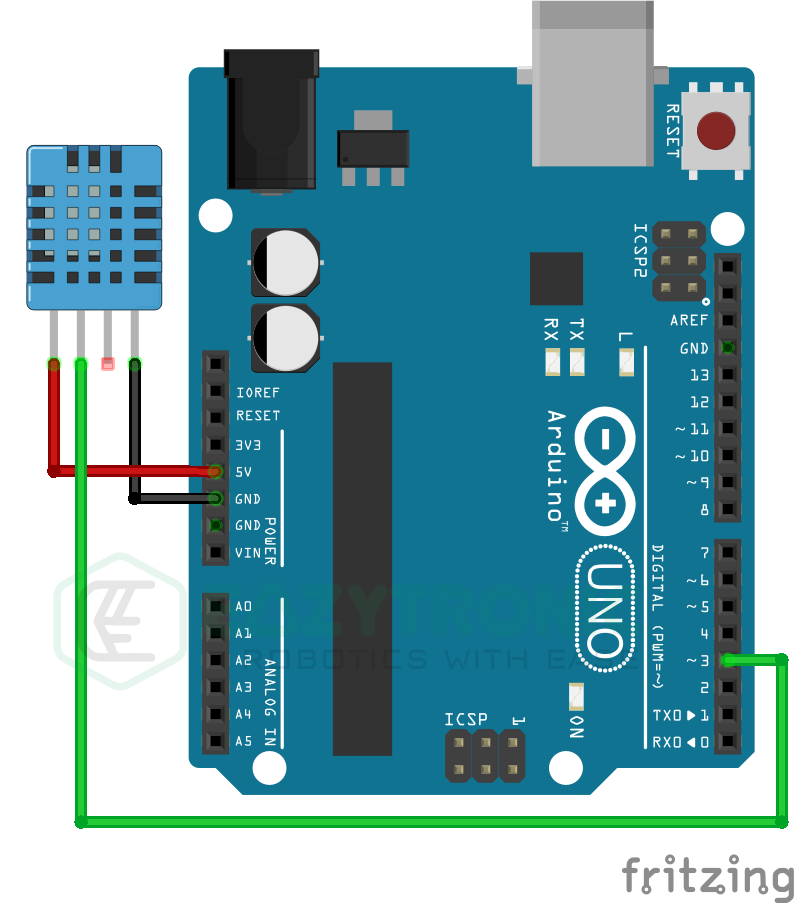
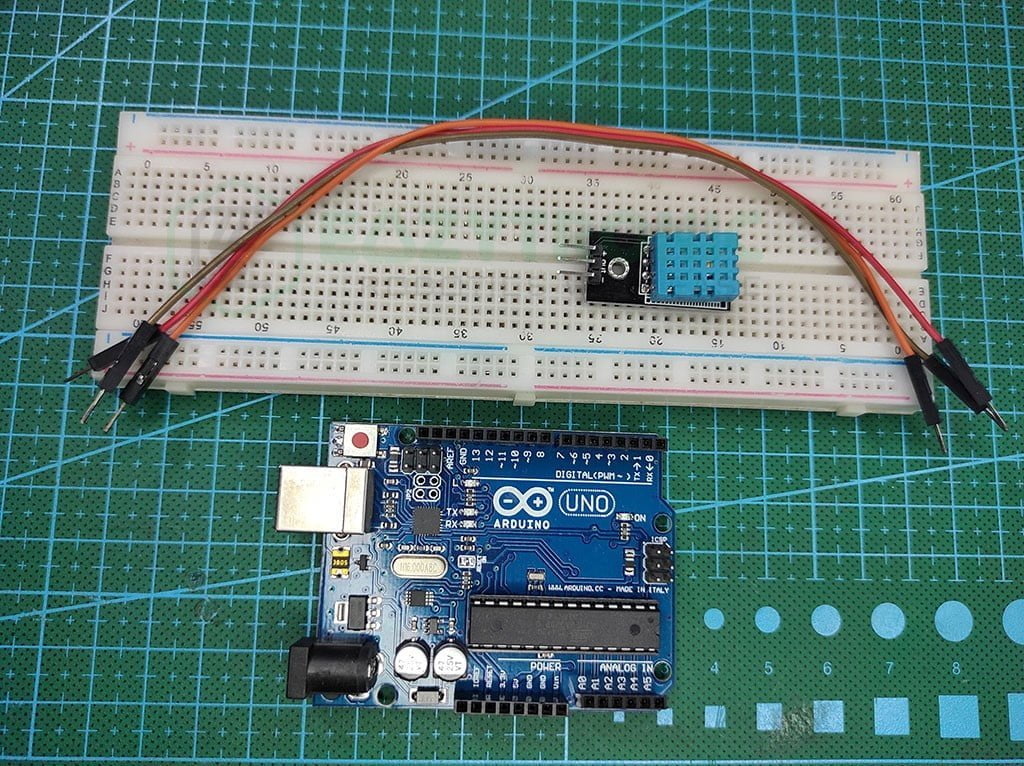
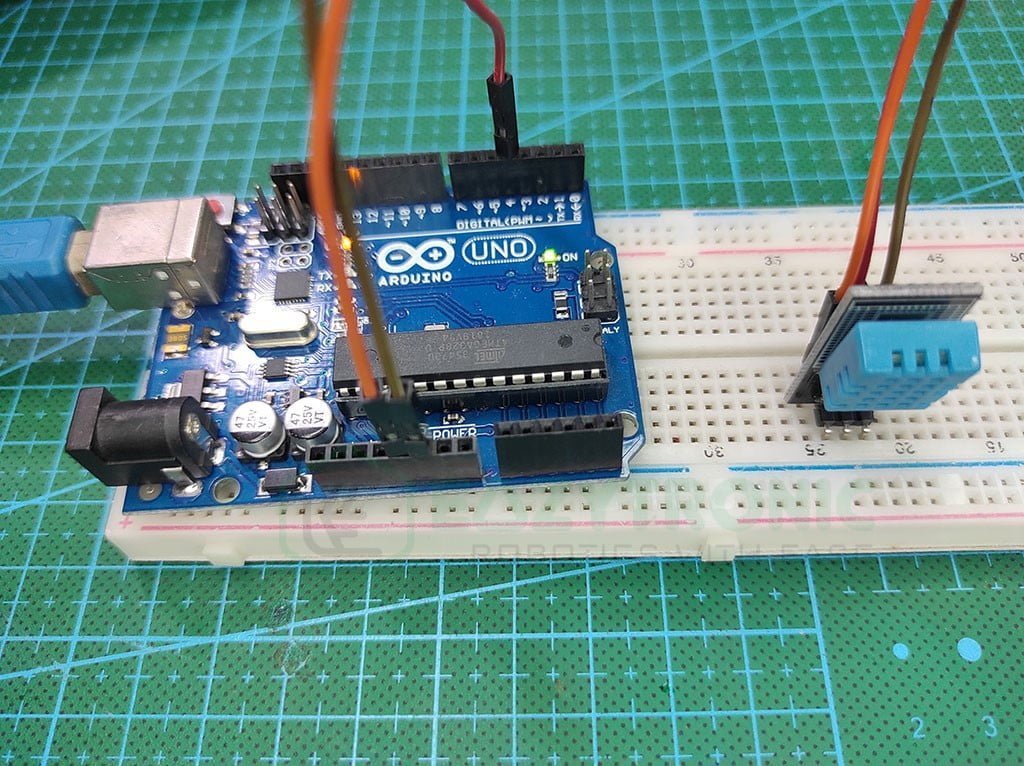
Wiring
| Arduino Pin | DHT11 |
|---|---|
| 5V | Vcc(+) |
| GND | GND(-) |
| Pin 4 | OUT |
Programming Arduino UNO
Now comes the main part of the article, how to program Arduino UNO. Before I begin, make sure you have downloaded all the necessary library and updates. If you are ew to Arduino microcontroller, make sure to read the introductory article of the Arduino IDE. Here you’ll get all the basic information regarding the Arduino UNO and setting up Arduino IDE. After you have installed Arduino IDE and set all up, now you can move further.
Installing Library
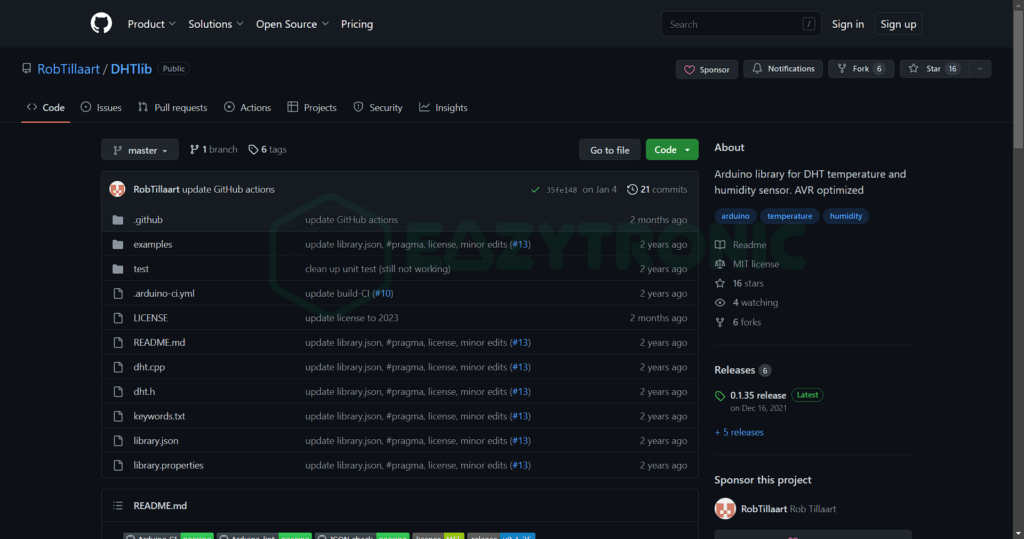
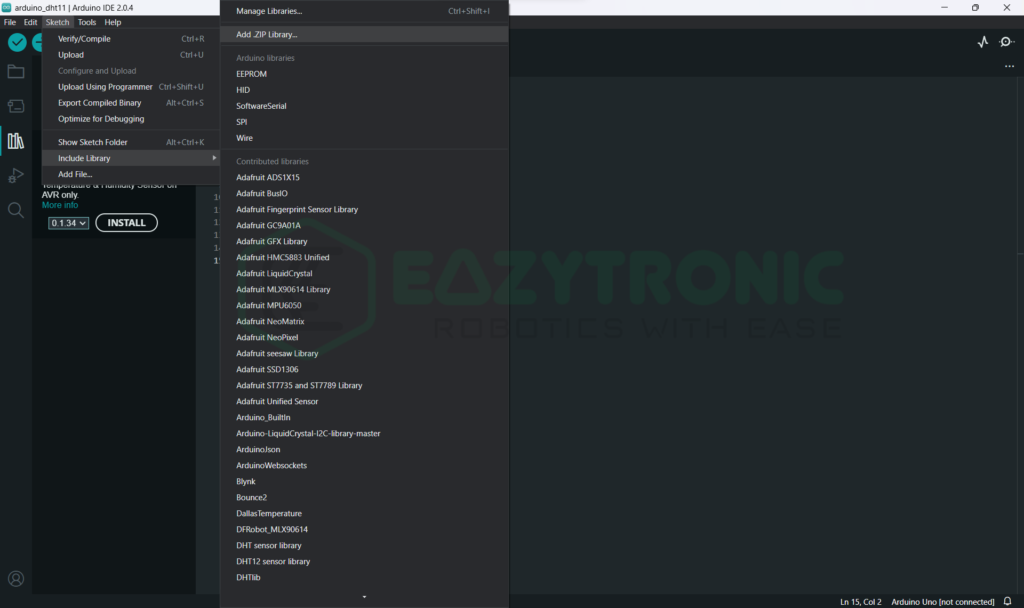
There are plenty of libraries on the internet for the DHT11 sensor, you can use anyone from them. However, the one I’m using is from my previous code, and it works still flawlessly. I have used DHTlib library, you can find it easily in the libraries section of the inbuilt Arduino IDE. Or if you want to install it manually, you can download the zip file from the GitHub page of the library. To install the Library, you can choose the Add zip library under the Sketch menu > Include Library > Add .ZIP Library. I have also attached images for reference.
Code
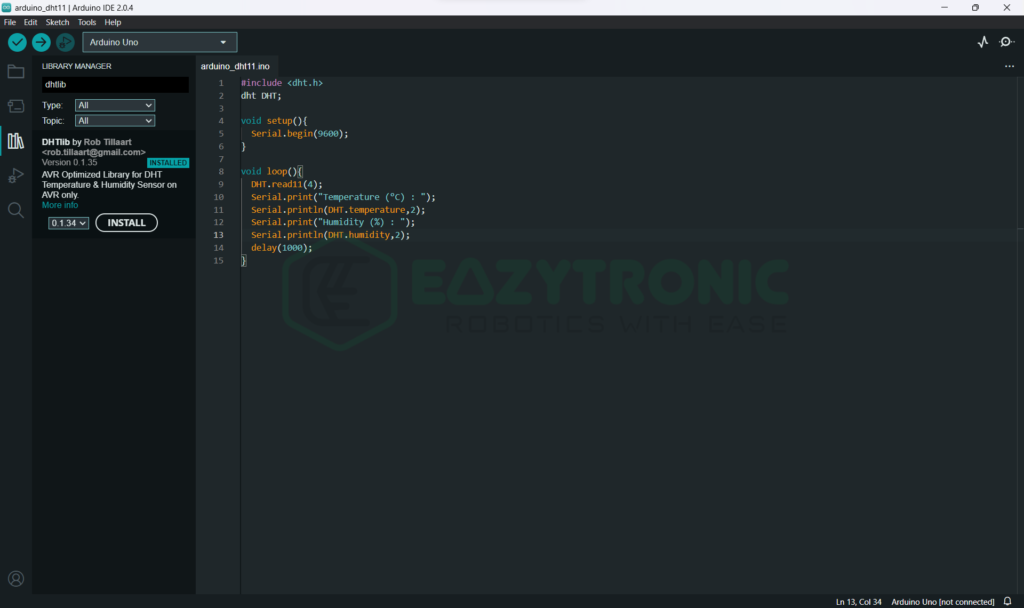
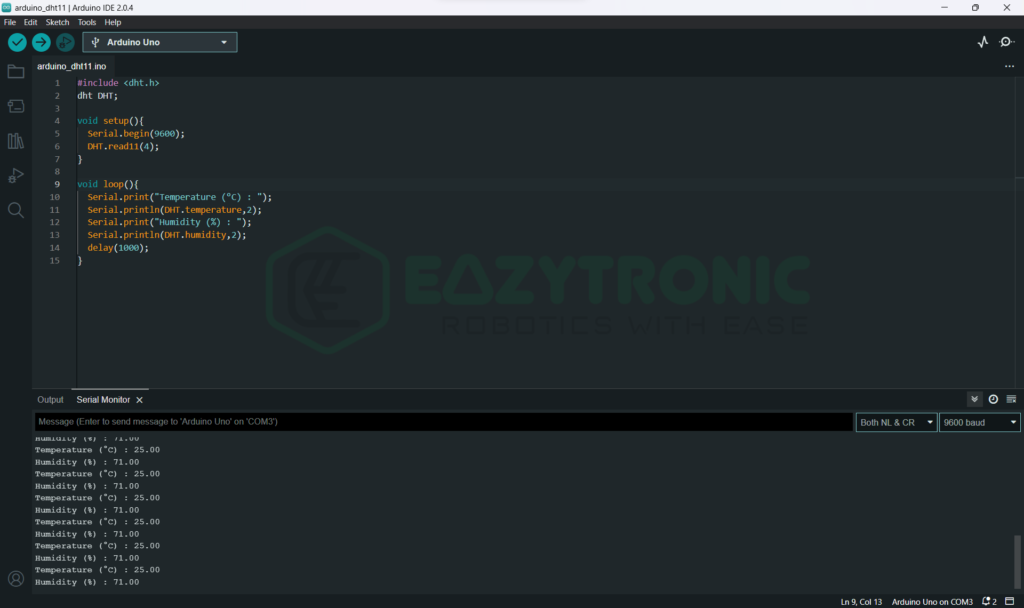
Once you have installed the library now you can write your code, below is the example code I have written. Only raw values from the sensor i.e., Temperature in °C and Humidity in percentage.
#include <dht.h>
dht DHT;

void setup(){
  Serial.begin(9600);
  DHT.read11(4);
}

void loop(){
  Serial.print("Temperature (°C) : ");
  Serial.println(DHT.temperature,2);
  Serial.print("Humidity (%) : ");
  Serial.println(DHT.humidity,2);
  delay(1000);
}
You can save the file with any name, however I recommend saving it with some resembling name related to the project. Further i have explained each line of the code so that you can manipulate the code for your own needs.
Explanation
Here comes the most important section of the dht11 with Arduino article, the explanation. Before I start, this code and explanation is for the Arduino boards only and precisely tested on Arduino UNO. If it doesn’t work, let me know in the comment section, I’ll test the code and update any issue. Moreover, this library is not tested for ESP32, NodeMCU or any other board. Therefore, there is no guarantee that the code will compile, surely. Now let’s start the explanation.
#include <dht.h>
dht DHT;
First, we start with importing the library that we have just installed for our code. If you have not installed the library, then read the above section for the same. Next, we create a DHT object that will point to the DHT sensor we have used. The syntax of this line is dht <variable name for object>. I have used the same name but in caps for easy identification, you can change this to anything you want.
void setup(){
  Serial.begin(9600);
  DHT.read11(4);
}
Next is the setup section, as we have nothing much important to initialize like pinmode or some other command. Therefore, we’ll only begin the Serial communication of the Arduino UNO with the System to print the values on the Serial monitor. I have used the 9600 Baudrate for the baudrate, you can use different as per your choice. In the next line, we define the pin on which we have connected the DHT11 sensor. You can use any pin as per your choice. Here I have used <object name>.read11(pin), read11 function is used t read data specifically from the DHT11 sensor. If you are using DHT22 or any other model, you need to change this accordingly. For more reference, see the GitHub page of the library.
void loop()
void loop(){
  Serial.print("Temperature (°C) : ");
  Serial.println(DHT.temperature,2);
  Serial.print("Humidity (%) : ");
  Serial.println(DHT.humidity,2);
  delay(1000);
}
Now we have towards the last section of the dht11 with Arduino demonstration article. In this section, we write the code that needs to be repeated again and again. In the first line, we print some text that correspond to the value. For this, we have to use Serial.print() function, the first value we’re going to print is temperature value. The temperature value is in °C, if you want to print the value in °F then convert the value. Next, we print the temperature value with <object name>.temperature. In this line we write 2 after a comma, this number indicates the number of decimal places in the value we’re printing in the line. Similarly, we print the humidity value in the following next two lines.
At last, we give a 1-second delay in the code. This is because the sampling rate of the DHT11 is 1 Hz, which gives the output every second. So in order to receive the values instead of an error, you must give a second delay in the code. For DHT22 the delay is increased to 2s as it’s sampling rate is 0.5 Hz. Once you’re done. Now upload the code by simply clicking on the upload button. Open serial monitor and select the correct baudrate from the bottom drop-down button. You’ll see the values of temperature and humidity printing on the screen.
With this, we have completed today’s tutorial of dht11 with Arduino. I hope you like it, if you face any problem then let me know below i’ll reslove it asap.