
Hello Tech Friends, I’m back with another interesting tutorial on interfacing Raspberry Pi PICO with IR Sensor. We have seen many tutorials of IR sensors hooking up different microcontrollers and development boards. But today we’ll see it with Raspberry Pi PICO. We’ll be programming the Raspberry Pi PICO in MicroPython using the Thonny Python IDE. I have already explained the steps to install Thonny Python IDE & setting up Raspberry Pi PICO in Getting Started with Raspberry Pi PICO. So let’s begin!!
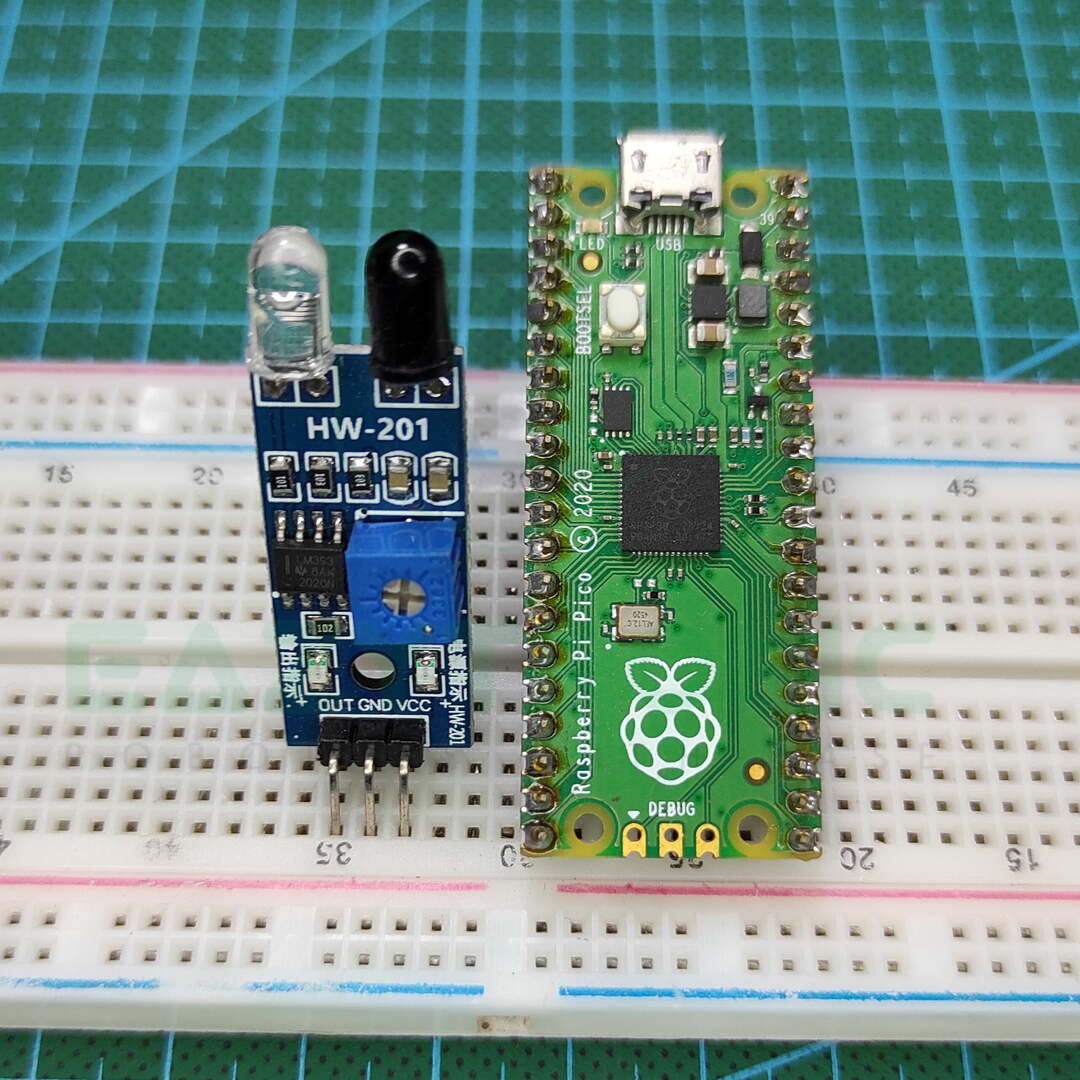
IR Sensor
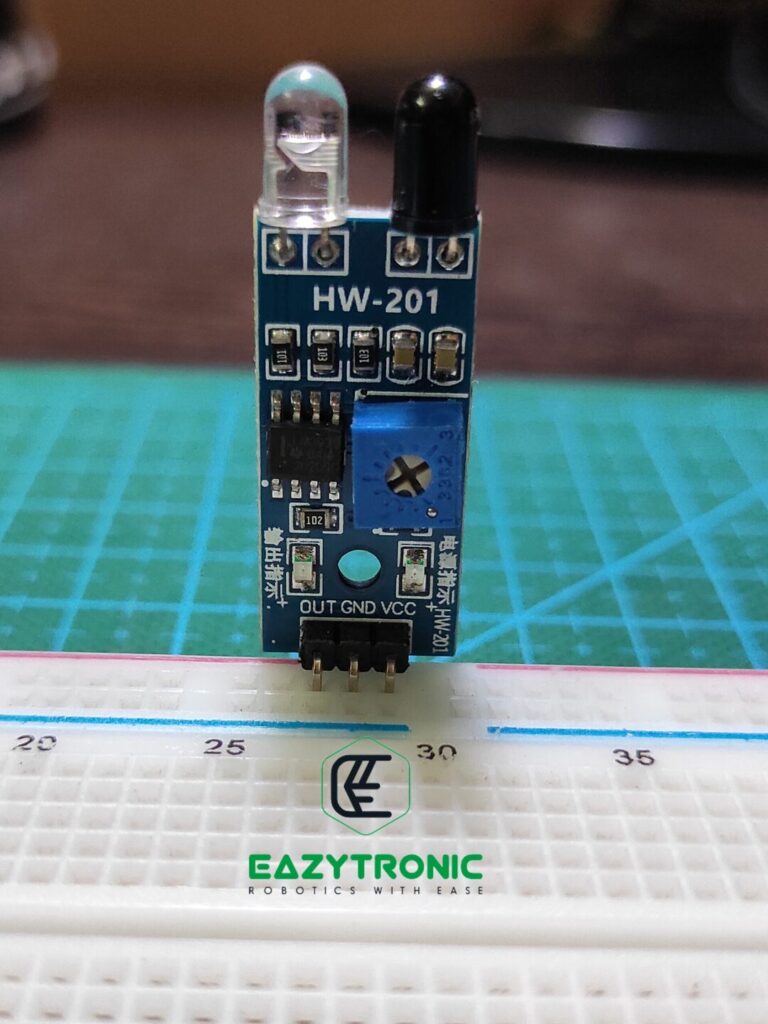
IR Sensor is one of the Basic sensors that a beginner can start with, in simple words, it is easy to hook up and more importantly is easily accessible. It comes in various types, mainly two of which are found in the market. Of Course, I have both, so I’ll be sharing the tutorial for both types. I have already covered a detailed article on IR Sensor, make sure to read it for complete information. Nevertheless, I’ll give a brief description of it in this article.
IR sensors are mainly built out of LM393 or LM358 IC, which are Low-Power Dual Voltage Comparator and Low-Power Dual Operational Amplifiers respectively. Both these versions give opposite outputs to each other when measured with a multimeter. Hence, it creates confusion when the code doesn’t work. Moreover, the working voltage of the sensor is within a quite good range. Also, the Logic level of the sensor is purely dependent on the Input Voltage, so issue with the pin tolerance.
Users also have the choice to adjust the value of the sensor via a potentiometer available on the sensor. Also, make sure not to use the sensor in bright light like direct sunlight or fire, as it’ll behave differently in those conditions. In addition to this, make sure not to put any object or obstacle of darker shades (shades of Black) as it may absorb all the IR Light emitted by the sensor.
Raspberry Pi PICO
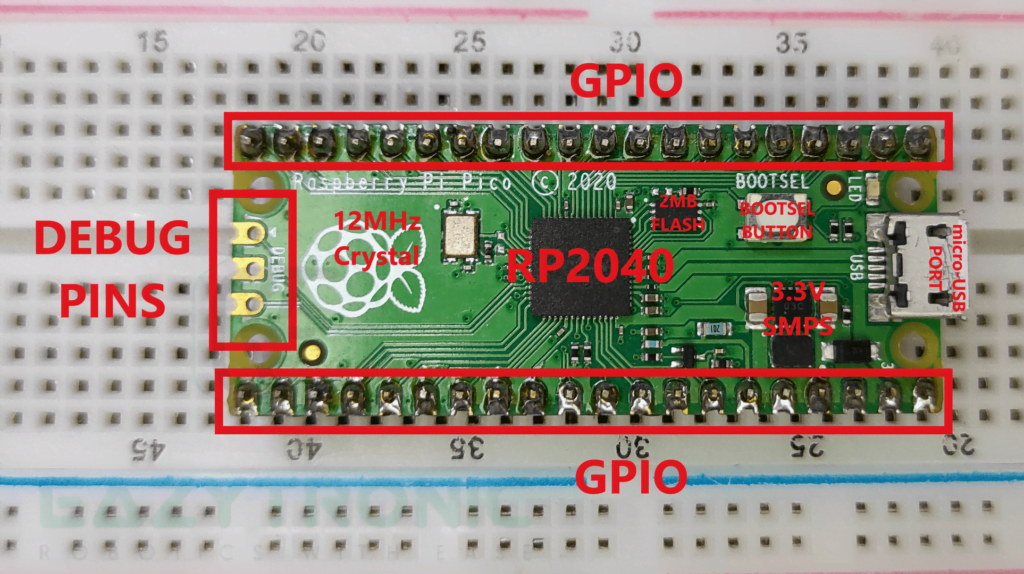
Raspberry Pi PICO is another interesting and prominent sensor among beginners and hobbyists. This microcontroller is developed by Raspberry Pi Foundation, who also have developed very famous SBCs series. For understanding the board and learning a few things about it, I have already done a detailed and all-embracing article on it as Getting Started with Pi PICO. However, I’ll sum up all information here also, but for detailed information, read the article mentioned before.
Raspberry Pi PICO is a Dual-Core ARM Cortex M0+ based microcontroller with inbuilt USB PHY1.1. It has a total of 40-GPIO pins on the board that can be used for all the different communication like SPI, I2C, UART, I2C, and many more. Moreover, like other development boards, it also has an on-board LED which can be controlled via software. All the PINS can be used as PWM pins, while only 16 can be used simultaneously. In addition to this, it also comes in another version that has Wi-Fi capabilities, so it is also versatile in the IoT field.
Furthermore, the pins of Raspberry Pi PICO are only 3.3V tolerant, as a result, you cannot connect any device which is above that tolerance. On the other hand, you have to use a logic level shifter for such devices so that the PICO doesn’t blow up. It also comes with a reset & BOOTSEL button which can be used in their specific ways as mentioned in the linked article.
Material Required
There are very few things which are needed for this tutorial to be done. All the materials are also provided with buying link.
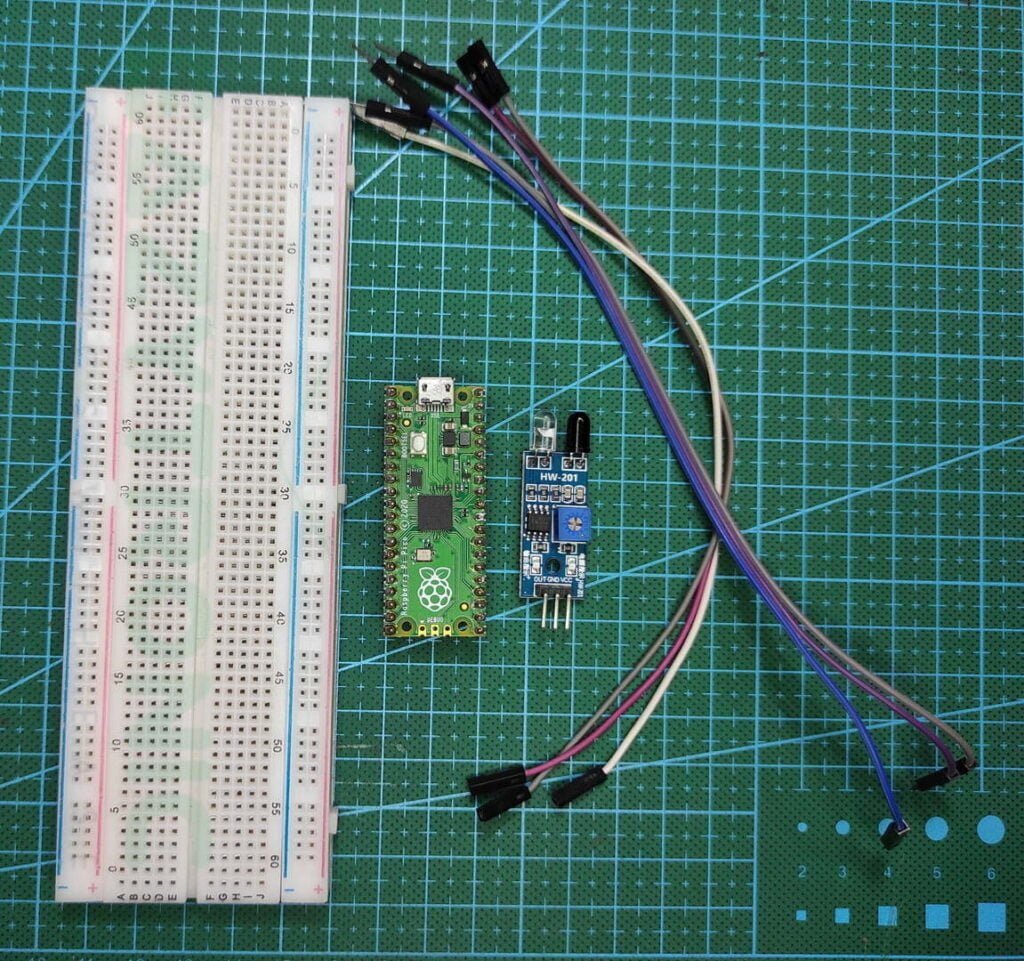
- Raspberry Pi PICO & micro-USB Cable:- Robu.in, ElectronicsComp, Rare Components
- IR sensor
- Breadboard
- Jumper Wires
- Working system for programming
Fritzing Schematic
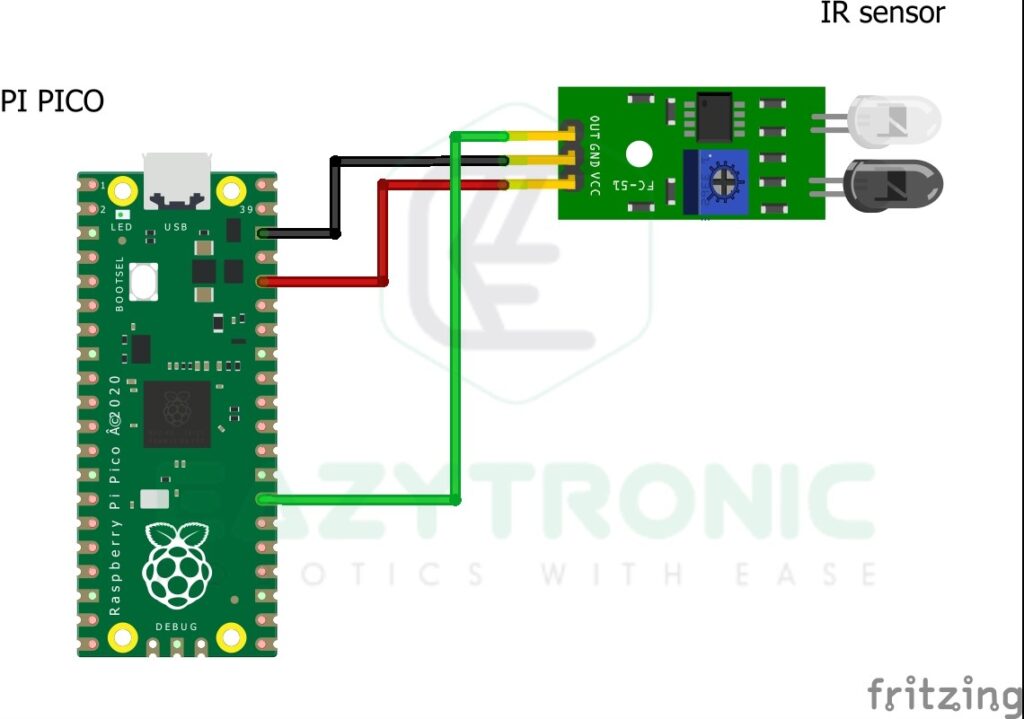
Wiring
| Pi PICO | IR Sensor |
|---|---|
| 3V3(OUT) | VCC |
| GND | GND |
| GPIO21 | OUT |
Programming Pi PICO with IR Sensor
Printing values in Python Shell
For programming, Raspberry Pi PICO first you must have set it up as mentioned in the getting started article. Also, you have to make all the connections shown in the above circuit diagram. Now open Thonny IDE on your system and start some lines of code. Below is the code for reading the value of the IR Sensor and printing it on the IDLE window. The output of the sensor is shown below, refer to the image attached.
from machine import Pin
from utime import sleep_ms
ir=Pin(21,Pin.IN)
while True:
    try:
        print(ir.value())
        sleep_ms(100)

    except KeyboardInterrupt:
        break
Copy the above code in the script mode of Thonny IDE and save it as ir_sensor.py. It is important to save it with a .py extension, or the file will be saved as a normal file. Hence, it’ll not work. Moreover, if you want to run the code as soon as the board restarts, then save it with main.py. I have already told the reason for saving the file with main.py for making the board run it every time it restarts. On the other hand, you can also make a ‘__init__’ file to add a custom file name inside it to save the file with the same name as me.
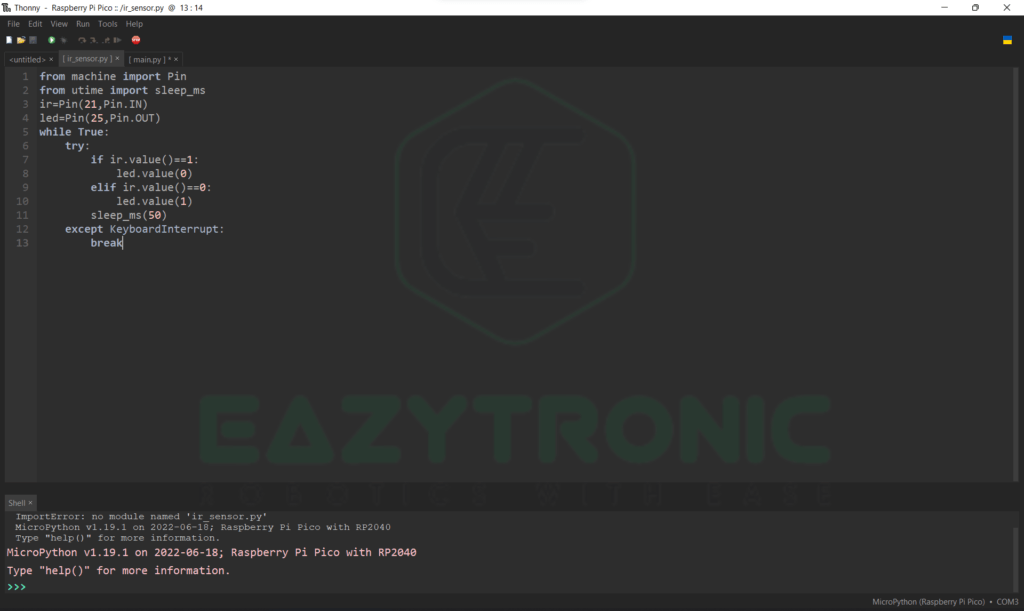
Blinking on-board LED of Pi PICO WRT IR Sensor
If you want to make the LED blink or some other task to be done based on the output of the IR Sensor. Then below is the code for making an LED blink WRT to the IR Sensor. I have used the onboard LED of the Pi PICO for this purpose, you can attach a separate one. The pin connection is the same as before, just edited some code.
from machine import Pin
from utime import sleep_ms
ir=Pin(21,Pin.IN)
led=Pin(25,Pin.OUT)
while True:
    try:
        if ir.value()==1:
            led.value(0)
        elif ir.value()==0:
            led.value(1)
        sleep_ms(50)
    except KeyboardInterrupt:
        break
The working for both codes is explained further with each line expiation. Also, there are some other important tips for beginners to keep in mind. Most importantly, there is also a comparison between the two versions of the IR Sensor.
Making __init__ file
Frankly speaking, I find making the init file difficult so to ease it I find a solution to it. You can save the file with whatsoever name you want, but make sure to include it in the main.py file. As this file will be executed as soon as the board restarts. Below is a sample of it. I have made the non-using file, a comment so that it is not used. You can change the file name every time you program for a different project, but make sure to not put the file in any folder, as else syntax will change.
import ir_sensor.py
#import ir_sensor_led.py
Code Explanation
The first line of the code is to import the pin module, this is an important module that needs to be imported. There are many other essential modules like SPI, I2C, etc. that I’ll be using in future projects. The next line is for delay or sleep, whichever term you are familiar with. Sleep function has two modules, I have already explained this in the Pi PICO introduction article. However, in brief sleep, the function measures or takes an argument in s (seconds) whereas the sleep_ms function takes in milliseconds. Below is the reference.
from time import sleep
sleep(1) # sleep/delay of 1s

from time import sleep_ms
sleep_ms(1000) # sleep/delay of 1s = 1000 miliseconds
The next two lines in the ir_sensor_led.py, the same as the ir_sensor.py I have, define the pin with their pin type. Moreover, you can also give more instructions like input pull-up or pull-down, but for now, let’s keep it simple. By these two lines, I have created two objects which point to the corresponding pins. We can change the value or gather data from them by just passing the argument to these objects. You can change the name or the object if you want, but for ease let’s keep this for now.
Infinite while loop
Next is the infinite while loop with a terminating statement. I have done this for the recursion of the loop until the terminating condition is fulfilled. Therefore, I have used the White True loop with the try and except method with Keyboard Interrupt as the exception. Hence, on Keyboard Interrupt i.e., Ctrl+C the program will terminate. In this loop the actual magic happens, here in the line just after the try, we compare the value from the IR Sensor and according to this, we make the on-board LED blink.
Variation in IR Sensor
There are two types of IR Sensors that give opposite outputs to each other. The one which I’m demonstrating gives a HIGH or Higher potential value in an idle state, and on detection of any object it gives a LOW or lowers potential output. This version is built out of LM393, which is a Low-Voltage Dual comparator. There is another version that will give high output on object detection and low idle state. Hence, you have to change the code accordingly. Below is the change in code for both versions.
from machine import Pin
from utime import sleep_ms
ir=Pin(21,Pin.IN)
led=Pin(25,Pin.OUT)
while True:
    try:
        if ir.value()==1:
            led.value(0)
        elif ir.value()==0:
            led.value(1)
        sleep_ms(50)
    except KeyboardInterrupt:
        break
from machine import Pin
from utime import sleep_ms
ir=Pin(21,Pin.IN)
led=Pin(25,Pin.OUT)
while True:
try:
if ir.value()==1:
led.value(1)
elif ir.value()==0:
led.value(0)
sleep_ms(50)
except KeyboardInterrupt:
break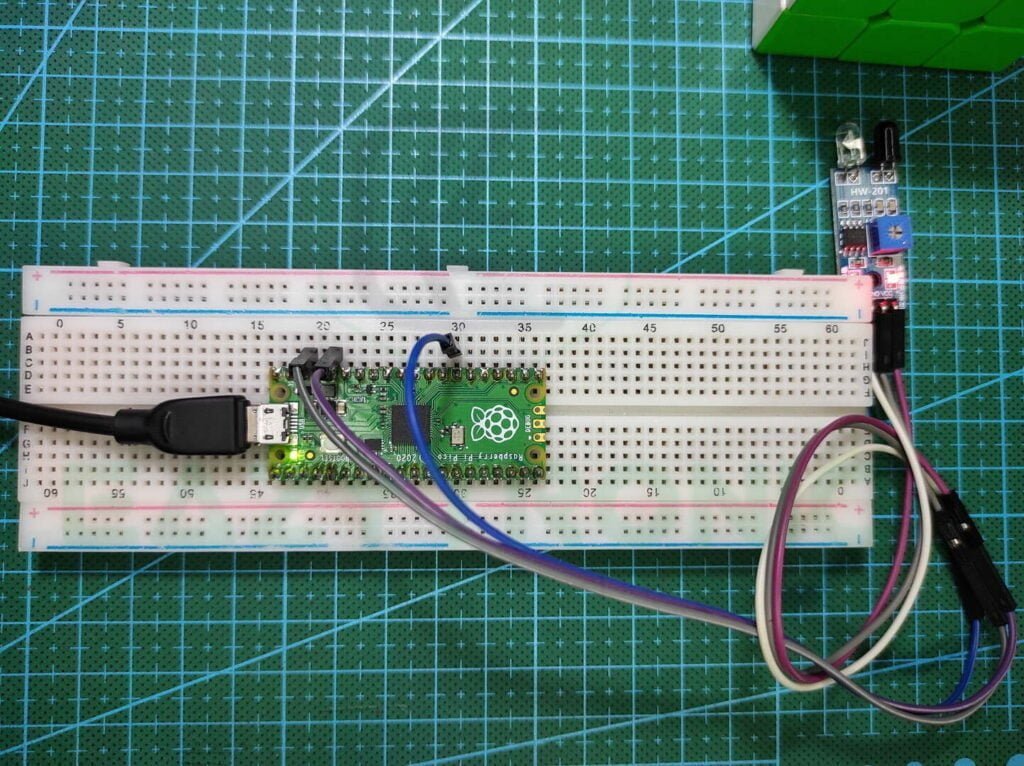
With this, we have competed for the demonstration of Pi PICO with an IR Sensor. I hope you’ll enjoy it & for any issues related to code or connection comment down below, I’ll rectify it soon.